Layering Washes and Glazing: Practical Colour-Building Exercises
Two constructive strategies
Building colour in layers is a common studio practice. Two approaches stand out: layering washes in wet sequences and applying transparent glazes after initial drying. Both can create luminous depth but rely on different optical and physical behaviours. The following exercises compare these methods and note practical cues to choose one over the other.
Exercise setup
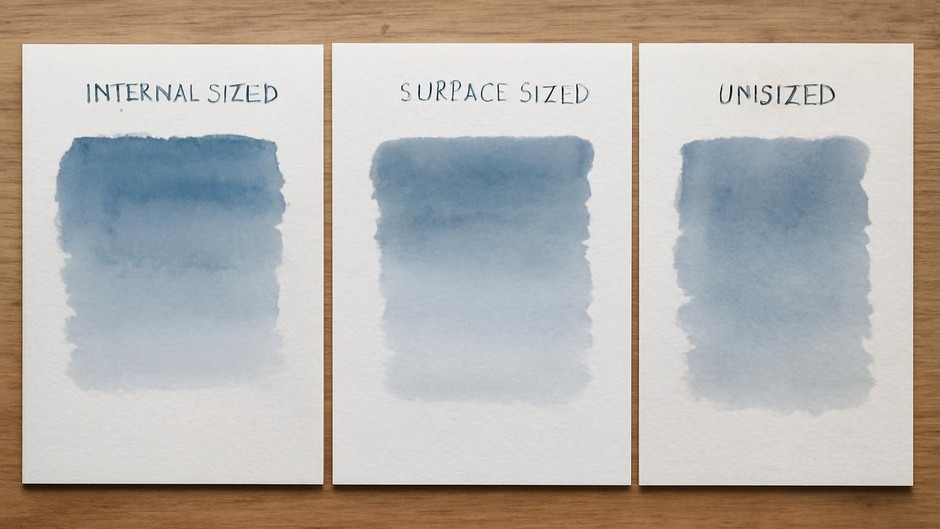
Work on a surface with moderate sizing. Prepare a limited palette of three transparent colours and a neutral wash. On a single sheet, reserve panels for wet layering and glazing. For each panel, follow a sequence of four passes intended to create a deep chromatic field: start light and build to darker, recording drying time and any edge effects.
Wet layering (wet-in-wet passes)
Wet layering leans on diffusion and soft edge fusion. Begin with a broad, diluted wash and, while still damp, add subsequent washes to allow pigments to mingle at the margins. The result is often smooth transitions and subtle optical mixes achieved largely in situ. Edges will tend toward soft halos, and pigments with strong granulation may separate as water moves and deposits particles.
Wet layering is helpful when you want blended atmospheric effects or when working quickly to exploit capillary action. It can be less predictable where tight edges or precise colour values are required because drying rates and paper absorbency will influence the final balance.
Transparent glazing (after dry)
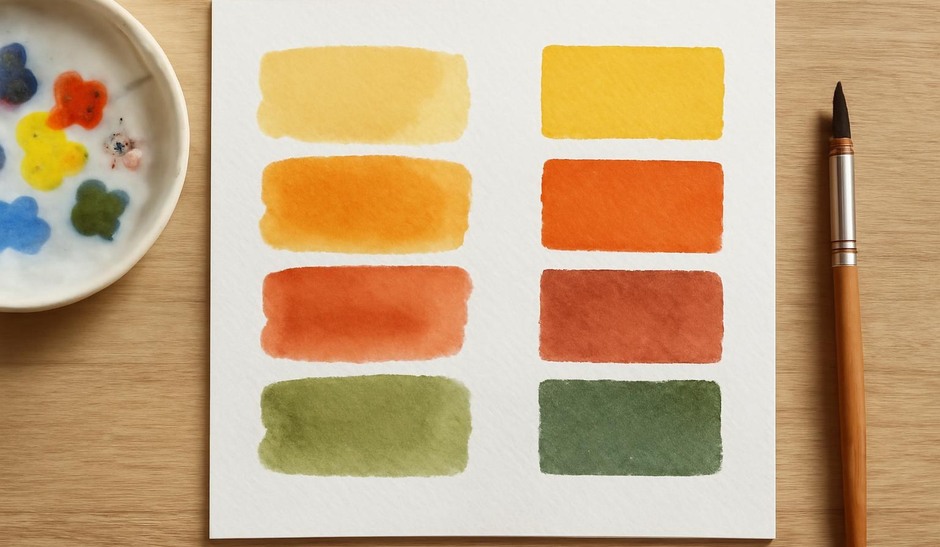
Glazing relies on optical overlay rather than physical mixing. Apply thin, transparent films of colour over dry layers so the light passes through upper glazes, reflects off lower layers, and returns altered. This method keeps edges clean and allows for measured shifts in hue and value. Because layers remain discrete, it’s easier to correct or adjust colour relationships step by step.
Glazing is useful when you need clarity and control, for example in colour matching or when building subtle shifts in shadow without disturbing underlying shapes. It takes more patience because each glaze must dry fully to avoid disturbing earlier films.
Comparing outcomes
- Optical mixing: Wet layering performs mixing in the wet field, producing blended transitions; glazing produces optical mixes where layers remain visually separate.
- Edges and detail: Wet layers favor soft edges; glazing supports crisp edges and detail work.
- Speed vs control: Wet layering is faster but less predictable; glazing is slower but more controllable.
Practical combinations
These methods need not be exclusive. A common workflow uses wet-in-wet handling for initial atmospheric passages, followed by glazing to refine colour relationships and edges. Alternatively, a glazed passage can be softened later with carefully applied wet touches to reintegrate overly crisp transitions. Keeping notes on pigment transparency, drying times, and paper response helps plan which areas are suited to each technique.
As with many studio choices, test small panels systematically. Note how the same pigment behaves under each protocol and how perceived colour changes with additional layers. Over time, these exercises yield a practical sense of when to trust diffusion and when to reserve adjustments for layered glazes.